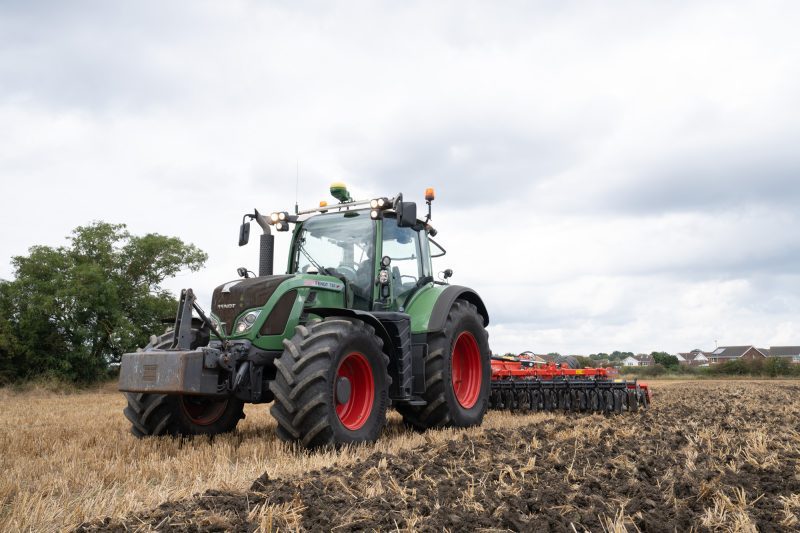
Location photography is always about compromise. The location might not be perfect, the weather is cold, it's windy, it's too sunny, then overcast, then jumping in and out of clouds. This is why trying to get the perfect shot in one go is practically impossible.
You've either got to be really lucky or have some god-like powers that I haven't mastered yet.


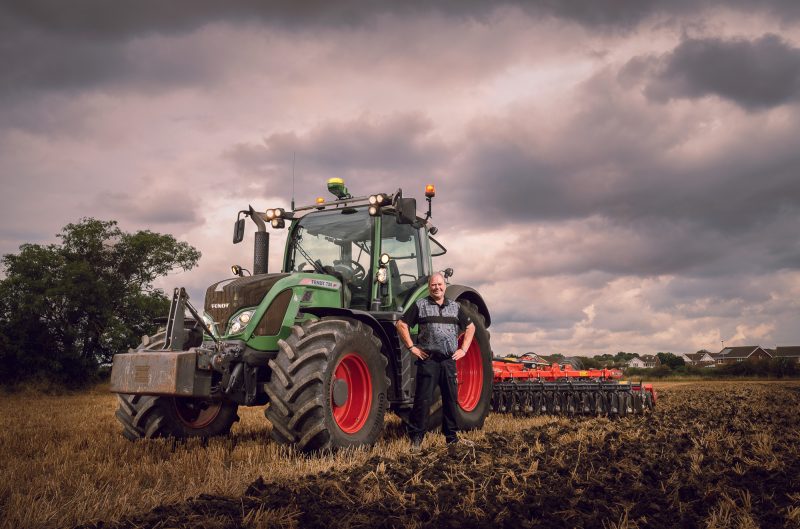
With this in mind, the client still requires an image that doesn't show these compromises and wants their product to stand out as though it was shot in a studio.
Studios have lots of advantages over the outside world. Access to a sheltered unencumbered space, control of the ambient light, a warm radiator, and cups of hot tea on tap. However, they lack a natural aesthetic or access to vast amounts of space.
The outside world offers authenticity and whilst (given time) you can re-create almost anything in Photoshop, working with the real world is always more believable and takes less time to manipulate.
Whilst some corporate photography shoots require a small amount of work up in post. Images that are going to be used extensively, national, internationally usually require a different approach. Post-production can take a long time to get through, so what goes into these types of images?

Shooting with the idea of compositing later requires a few key considerations prior to capture.
The first consideration is a good sturdy tripod.
One that won't budge even in the middle of a muddy field or other difficult ground condition. If the soil is soft, I usually press the tripod firmly into the ground and level up the composition in-camera.
Set your composition.
If you're using a zoom lens, make sure it's locked down at your chosen focal length. Get your focus, then switch your camera to manual focus. If the focus or focal length shifts even a tiny bit it's really hard to align the images up in post. Trust me, it'll save a lot of heartache and hours of Photoshop time.
Next, choose an exposure combination that will allow you to control the daylight intensity and be able to sync your portable studio flash.
On very sunny days too much light can be a problem. When it's too bright, the flash packs have little hope of competing with the sun to be able to control the light to show shape and form. Trying to compete with the sun on a huge scale is impractical without a lot of power and generally, I only work with medium wattage battery-driven portable flash.
Trying to use high-speed flash sync in these conditions is useless as the flash output drastically reduces to match a high shutter speed with its pulsing technology. In difficult lighting conditions, sometimes waiting till ambient light levels drop toward, late afternoon is important.
On dull or overcast days, you can tame the light levels using a combination of low ISO and choosing an f-number that brings the ambient down to usable levels and in line with regular flash sync speeds - sub 250th/sec on most cameras.
I like to run the flash power at just above the ambient, meaning that the ambient exposure is about 1 to 2 stops darker than the flash output.
The benefit is that the skies are tamed and I can use the flash to direct the light to pull detail out of the vehicle's surfaces, highlighting texture in every exposure.
Hints and tips: Lockdown: focal length, focus and exposure.
Once I've chosen the ones I can take along to the next stage, I'll start to organise and make global adjustments in Lightroom, ensuring that all the files have the same adjustments synced across the files.
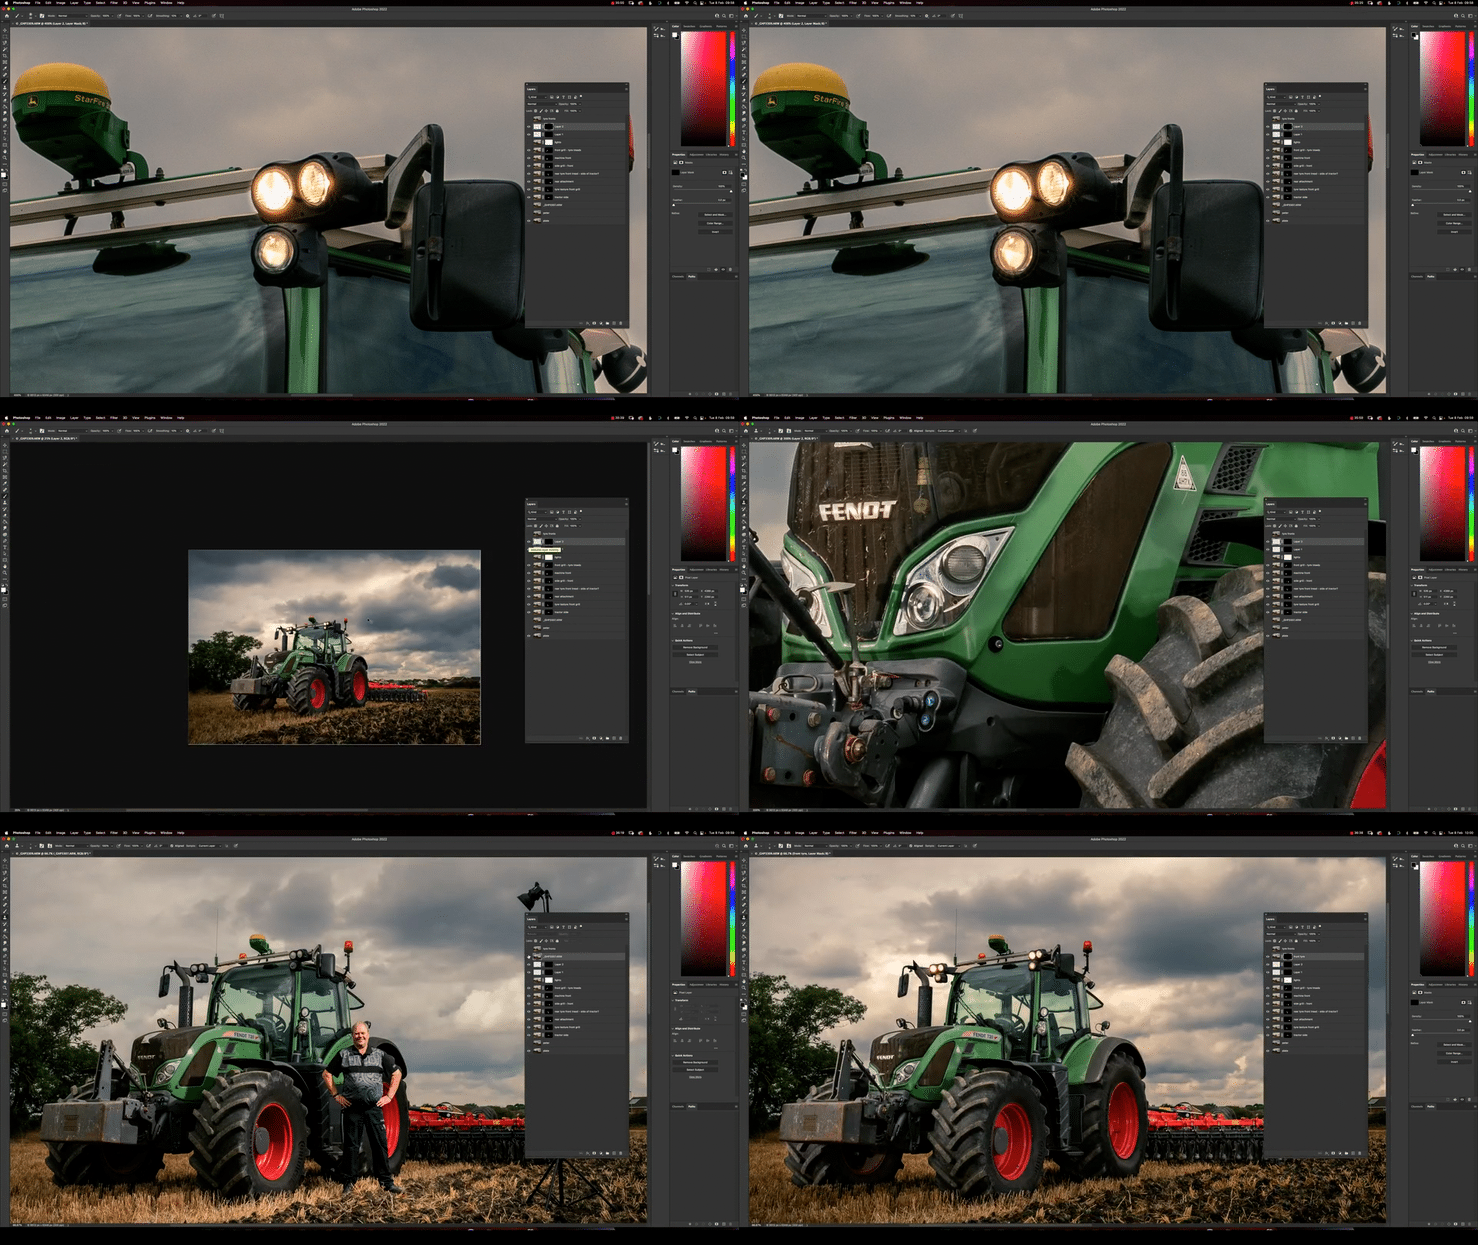
This video (captured over 45 mins of work and compressed down to just over 2 mins), demonstrates that images are exported as layers out of Lightroom into Photoshop, where they are then aligned in registration. This ensures that any changes via masking or retouching keep everything aligned and avoids any parts of the scene not matching up to the images above or below.
The video demonstrates the compositing stage of this style of work and the use of multiple layers in Photoshop to incorporate the best textures and lighting conditions from each exposure combined into one final image.
I get a great deal of satisfaction from completing work like this as the quality of the finished product is a stark contrast to something just captured without lighting.